iPhone Settings to Optimize Nail Photos
•Posted on July 09 2024
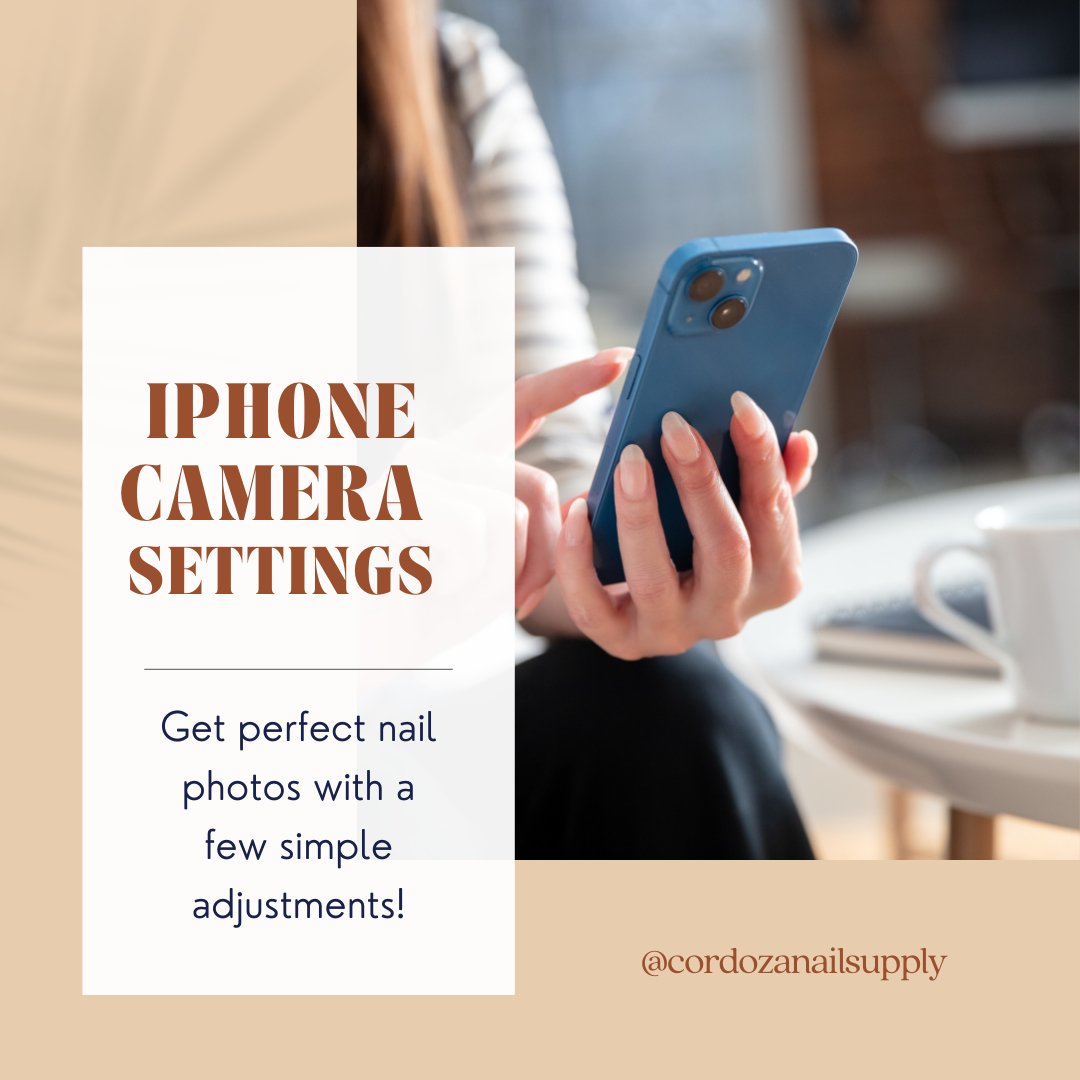
Best iPhone Camera Settings for Photographing Nails
Best iPhone Camera Settings for Photographing Nails
To achieve the best clarity for photographing nails with an iPhone, follow these simple steps:
Camera Settings:
- Use the Main Camera: Use the primary rear camera (wide lens) for the highest resolution.
- Enable HDR: Go to Settings > Camera > Enable HDR (High Dynamic Range).
- Enable Scene Detection: Go to Settings > Camera > Enable Scene Detection.
- Use the Grid: Go to Settings > Camera > Enable Grid.
- Use the Level: Go to Settings > Camera > Enable Level.
- Use the View Outside the Frame: Go to Settings > Camera > Enable View Outside the Frame.
- Turn on Focus Lock: Tap and hold on the nail area to lock the focus (AE/AF Lock will appear).
- Adjust Exposure: Swipe up or down on the screen to adjust exposure.
Lighting:
- Natural Light: Use bright but shaded natural light.
- Softbox or Ring Light: For even lighting without harsh shadows.
- Avoid Flash: It creates harsh shadows and reflections.
Composition:
- Clean Background: Keep it simple to make the nails the focus.
- Angles: Experiment with different angles.
- Props: Use props like cardigan or apron to wrap around as a background but avoid distractions.
Additional Tips:
- Hold Phone Upside Down: For a better angle of the nails.
- Steady Hands or Tripod: To avoid blurry photos.
- Avoid Digital Zoom: Get physically closer to the nails.
Editing:
- Use Editing Apps: Enhance clarity and adjust brightness with apps like Snapseed or Lightroom.
- Sharpening: Apply lightly to enhance details without harshness.
By following these tips, you can achieve professional-looking nail photographs with your iPhone.
Happy photographing!


Comments
0 Comments
Leave a Comment